
First... a confession.
I'm not going to lie, I don't like polystyrene. We can't recycle the standard polystyrene items in circulation here, so the more I've become aware of our eco impact, the more I've steered clear.
Having said that, I received these tree shaped pieces a while ago, and inspired by some lovely festive pieces I've seen recently, we decided to put these to good use so they didn't end up in the rubbish. If you're interested to make something similar to this and don't wish to use polystyrene, some great alternatives are paper mache Christmas trees (store bought or home made) or using large pieces of cardboard to roll into a cone. The end result will be very similar, I promise!
Now, back to the How To..
What You'll Need:
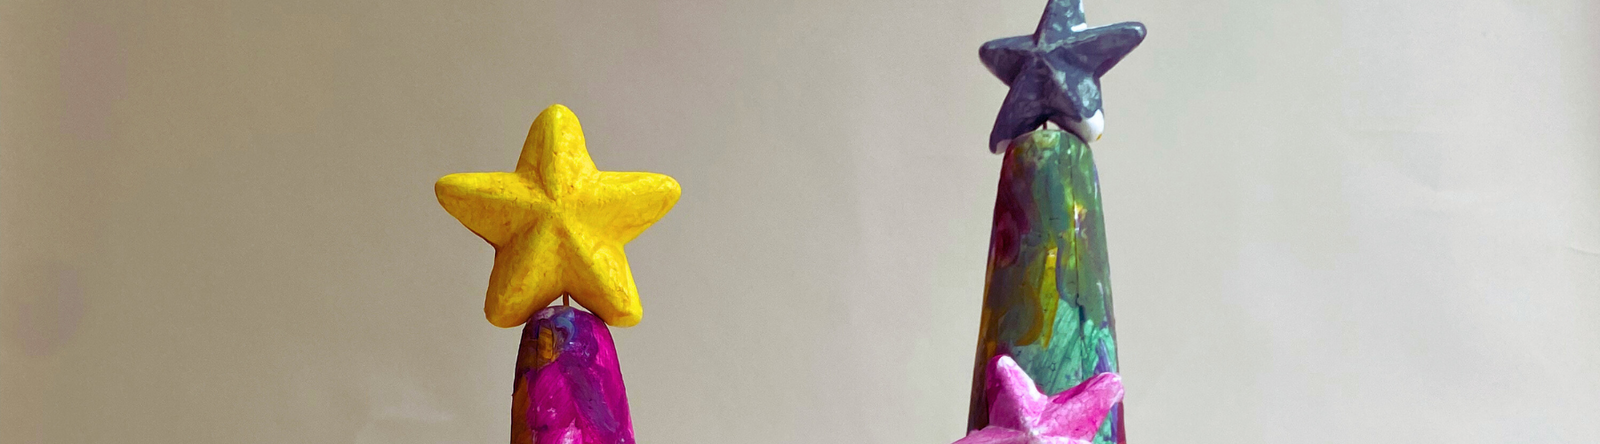
- 3D Cone (any material is fine)
- 3D Stars (any material is fine)
- Paint
- Paint Brush
- Toothpick
Step 1: Paint The Tree

Ask the kids to cover all of the cone in their favourite festive colours - ideally trying to cover up all of the white.
Step 2: Bring The Star Power
We had some stars in our kit which the kids also painted to pop at the top of the tree. Alternatively you could cut out some paper stars!
Step 3: Assemble In Awe

When all the paint is dry, use a tooth pick to connect the top of the tree to the star. If using foam, simply piece each item with the toothpick. If using rolled up cardboard as the tree cone; tape the top of the toothpick to the bottom/back of the flat star. Then carefully insert the bottom of the toothpick at the top of the cone.
And that's it. This one is SO SIMPLE. And yet it looks so merry gorgeous!
xx Brooke


