
I’ll tell you a secret.
All beautiful DIY gifts have a secret ingredient. And it’s so incredibly simple. Starting with good quality art / craft supplies is the difference between a project that pops and one that flops.
Though I wholeheartedly believe that all kids’ art is the stuff of beauty, when we want to gift something it can sometimes raise the stakes, right? So let’s get this important foundation right and create some gorgeous gifts!
Join us, as we create 20 kids’ DIY gifts under $20!
The only art supplies you’ll need on hand for ALL 20 gifts is:
- All The Colours Painter’s Parcel (or kids paint of equal quality)
- Life of Colour Paint Pens (or similar)
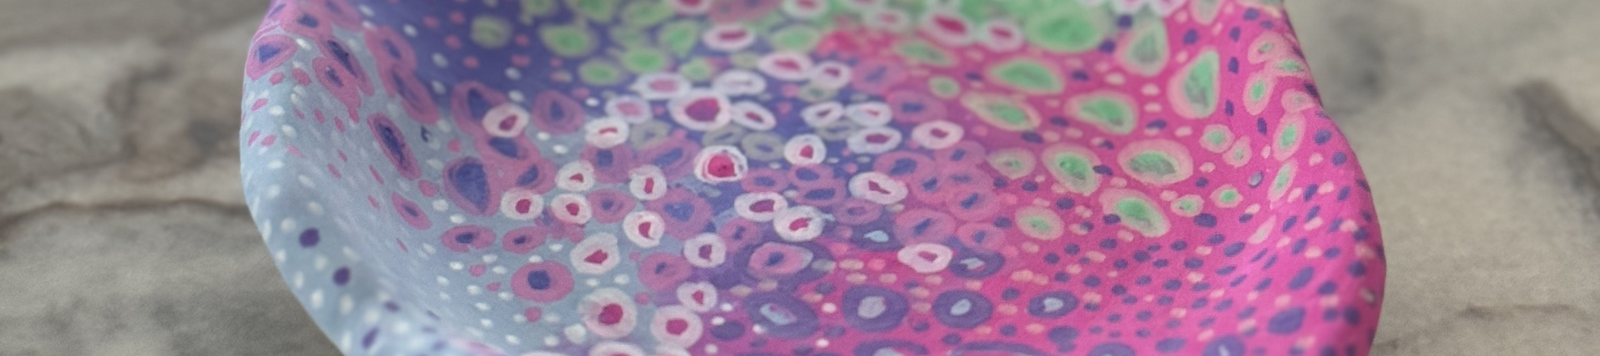
Gift #1 – Clay Trinket Bowl
With your paint and paint pens already on hand, you’ll need:
- White Air Dry Clay - We used Crayola $15.99
- Craft Glue - $4
Total Spend = $19.99
Step 1 – Set Up
Put some butchers or baking paper down to cover the working surface. Get a little pot of water, a rolling pin and a small bowl or dish (you’ll use this for shaping).
Step 2 – Prepare the clay
Breaking off a small piece of clay, use the rolling pin to roll out flat.

Step 3 – Shape the dish
Using a piece of baking paper to ensure no sticking, drape your flat clay over the upside down bowl you have chosen. Let your little artist finesse this shape as they see fit.

Step 4 – Smooth the clay
Using some water on their fingers, encourage them to smooth out any bumps and cracks, so they have a smooth painting surface.

Step 5 – Let it dry
Find a safe spot to leave this masterpiece until it’s completely dry – this could take a few days depending on how thick the clay is.

Step 6 – Bring out the paints!
Cover the surface with painted shapes, patterns or colour blocks. Let this dry for at least 30 minutes.

Step 7 – Add details
Use the paint pens to add any extra special touches – shapes, illustrations or messages. Let dry.

Step 8 – Seal the dish
In a small pot, mix well 80% glue and 20% water. Coat the dish with this mixture to seal the dish (will prevent scratching and protect art as both supplies art water based so will wear off over time otherwise).

And voila! Wrap it. Gift it.
Happy Creating!
Xx Brooke


